Moving a treadmill safely and efficiently requires careful planning, preparation, and the right techniques to prevent injuries and equipment damage. Treadmills are heavy, bulky, and consist of sensitive components like motors and consoles that need special care. The best way to move a treadmill starts with thoroughly reviewing the manufacturer’s instructions and measuring the treadmill and all doorways, hallways, and staircases it will pass through to ensure clearance. Essential moving supplies such as moving blankets, a furniture dolly, heavy-duty straps, and packing tape should be gathered to protect the equipment and ease transportation. This comprehensive guide covers every essential step for moving your treadmill effectively, whether you choose to do it yourself or hire professionals.

Preparation Before Moving
Before lifting the treadmill, consult your treadmill’s manual for manufacturer-specific instructions. Measure the equipment as well as doorways, hallways, and staircases along the route to ensure clearance. Collect necessary materials like moving blankets, a furniture dolly, heavy-duty straps, packing tape, and strong helpers.
Power Down and Secure Equipment
Unplug the treadmill and allow it to cool if you have recently used it. Securely wrap and tape loose cords and remove detachable parts, labeling and packing them separately for easy reassembly. Proper cord management prevents tripping hazards and gear damage during transport.
Protect and Prepare the Treadmill
Protect vulnerable areas such as the console, handles, and edges by padding with moving blankets or towels. Use straps or Velcro bands to secure folding decks and movable parts, preventing shifting or collapse in transit.
Map Out and Clear the Moving Path
Clear obstacles and rugs in advance, and protect floors to avoid damage. For staircases or porches, use ramps or additional helpers for safe maneuvering.
Lifting, Rolling, and Moving Techniques
Always lift with your legs, not your back, and ensure you have at least one trusted helper for assistance. Use the treadmill’s built-in wheels if available by tilting it back gently, or employ a furniture dolly to roll it. Move slowly and communicate clearly to avoid accidents.
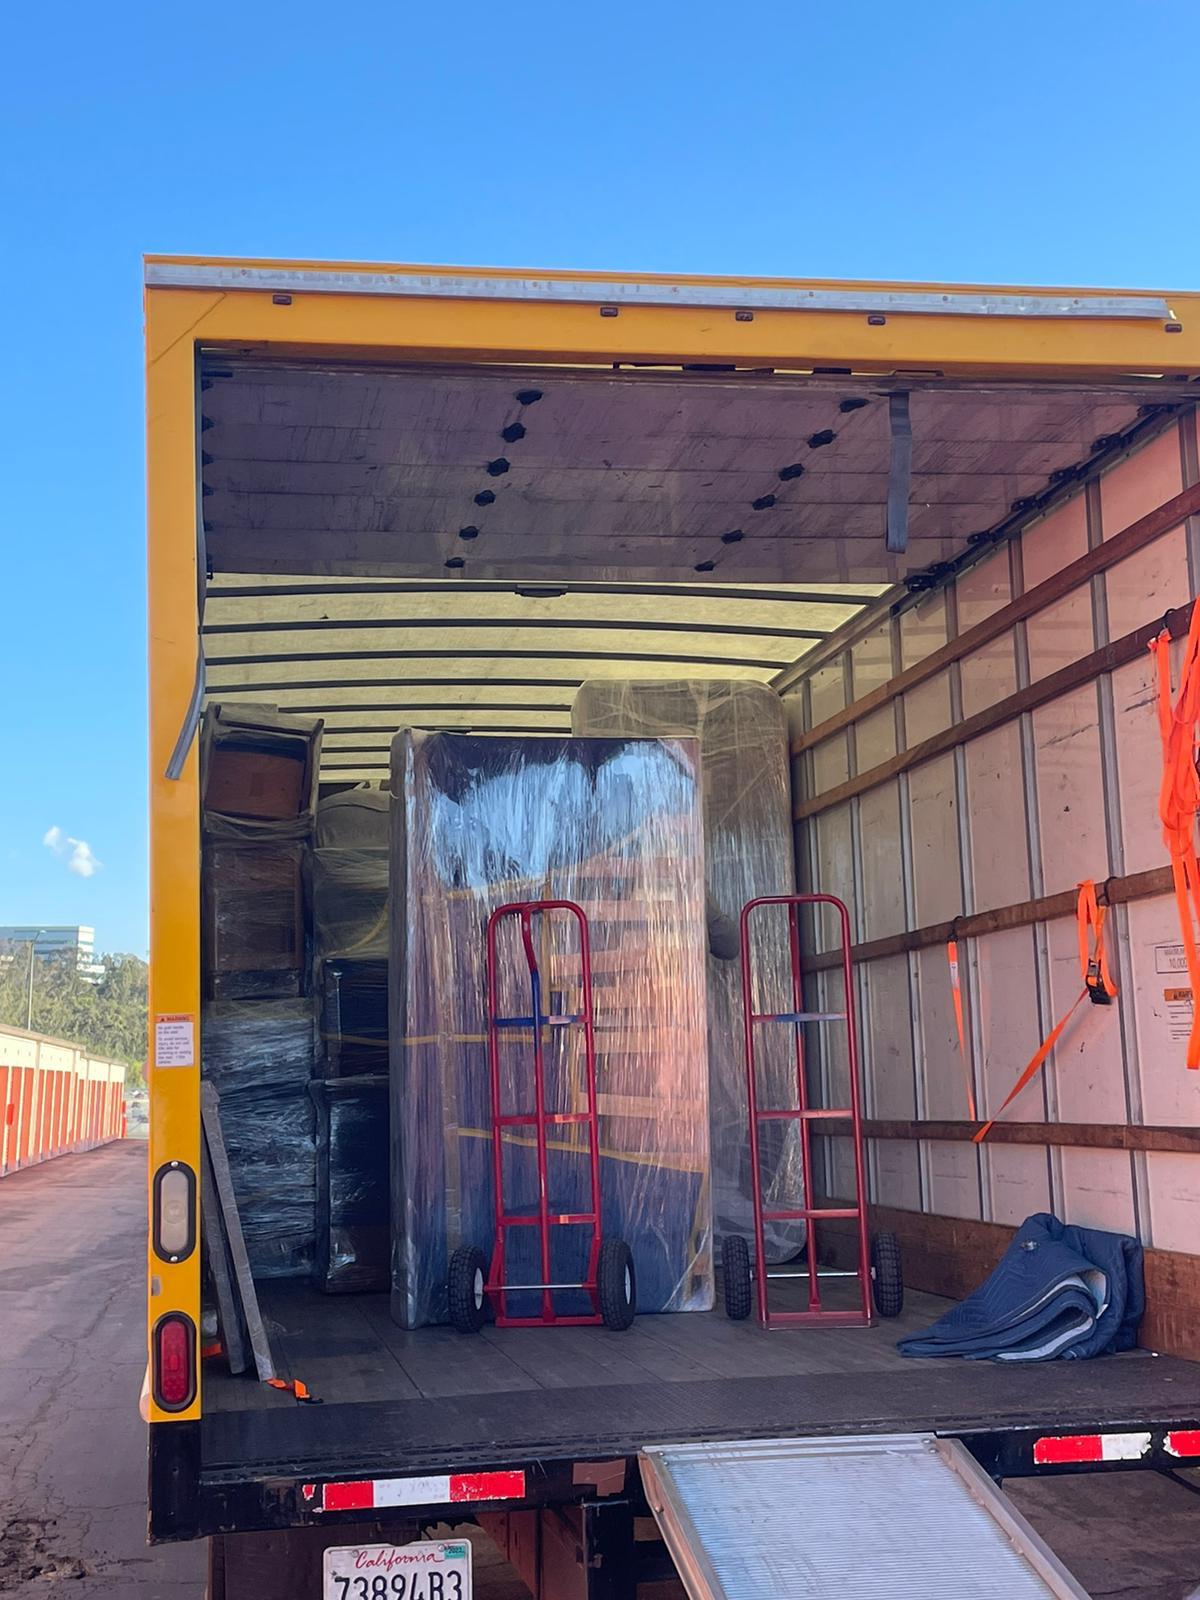
Loading and Transporting
When loading into a vehicle, place the treadmill upright to maintain weight distribution. Secure it tightly with straps to prevent tipping or movement during transit, which can damage the motor or frame.
Unloading and Reassembly
Unload carefully, placing the treadmill in its new position. Reassemble removable components first using your labeled bags or photos. Test the treadmill at a low speed to verify all functions operate correctly after the move.
Professional Movers vs. DIY: Which is Best?
- Costs: DIY moving a treadmill may cost between $100-$200 plus truck rental and supplies, while hiring professional movers can range significantly higher depending on your location and the equipment’s size (average moving costs for other large items usually require a crew of 2-4 and last 3-6 hours). Though DIY may initially sound cheaper, hidden costs and risks can add up.​
- Safety: Professional movers bring experience and proper tools, greatly reducing injury risks from heavy lifting or improper technique. DIY moves should only be attempted if you have multiple physically capable helpers and the right equipment.
- Convenience and Efficiency: Professionals handle disassembly, transport, and reassembly quickly, saving time and effort. DIY gives control to the owner but demands intensive planning and labor.
- When to Hire Pros: For commercial-grade or heavy treadmills, complicated building access, stairs, or long-distance moves, professional movers are highly recommended.
- DIY Tips: If you decide to move the treadmill yourself, ensure all equipment is secured for transport, recruit at least two strong helpers, and plan your route thoroughly.
Moving a gym equipment successfully requires preparation, care, and safety. Whether you opt for professional movers or DIY, following these steps will help you avoid injury and equipment damage, ensuring your treadmill stays in excellent condition at your new location.